Microhardness Testing Explained: Vickers & Knoop Testing
- Published: November 07, 2022
By Phil Eusebi, Product and Applications Specialist, Industrial Physics
Microhardness Testing is used to determine a material’s hardness or resistance to deformation when test samples are not suitable for other types of Macrohardness testing. Microhardness testing is often used for evaluating hardness of very small or thin samples, irregular shaped samples, determining individual phases of a material, and surface properties of coatings and plating. Case depth hardness can also be measured.
While Macrohardness testing such as Rockwell, Macro Vickers and Brinell tests are common, these methods typically use larger applied loads in excess of 9.81 N (1 kgf). This may be inappropriate for materials or surfaces which are too thin relative to the indenter size, or where the properties of the surface are too delicate or brittle to sustain the large testing forces.

Materials and surfaces such as thin metal, metal coating or plating, micro weld, and adhesive joint lines, ceramics, or wide ranges of thin films or coatings, may exhibit erroneous data or undesirable failure or destruction under macrohardness testing methods.
Microhardness testing, on the other hand, uses microscopic indenter geometries and loads as low as 0.0980 N (10 gf) which are suitable for these same thin materials, coatings and plated surfaces, as well as small sample areas and surfaces that are delicate or brittle.
Typically, microhardness testing uses a diamond indenter which is pushed into a surface under a defined load for a determined amount of time.
This process will generally leave an indentation in the surface, and this is then optically measured to determine the hardness value according to the appropriate indenter and testing scale (Vickers or Knoop).
Sample size, sample preparation and environment all must be considered when using a microhardness tester. This includes considerations such as room temperature and isolation from sources of outside vibration which may affect the results as well as proper sample preparation.
There are two widely accepted methods for microhardness testing, both offering repeatable and accurate results: Micro Vickers hardness testing and Knoop hardness testing.

Micro Vickers Hardness Testing
The Micro Vickers hardness test uses a traditional Vickers type indenter, but at a microscopic scale. This indenter is a square-pyramidal shape and is typically pressed into the surface of the material for 10-12 seconds. The amount of force used is specified by the operator and varies depending on the materials being tested.
Once the test is completed the indentation left in the sample is analyzed optically to measure the lengths of the diagonals, which are used to calculate the size of
the impression. Micro Vickers testing can be used for analyzing surface layers down to as thin as 60 microns.

Knoop Hardness Testing
Knoop hardness testing is similar to the Micro Vickers technique but uses an elongated-pyramidal shape indenter. In Knoop testing, the indenter is similarly forced into the surface of a sample to produce an indentation which can then be measured. Unlike the Vickers method, Knoop analyzes only the long axis of the indentation for calculating the hardness value.
The Knoop method is often preferred for testing using very low indentation force, and the shape of the probe makes it is suitable for samples needing indentations close together or on the edge of a sample. It can also offer higher levels of precision than the Vickers method, due to the fact the longitudinal diagonal of the indenter is greater. The same environmental and sample preparation requirements exist for successful Knoop testing as for the Micro Vickers technique.
Key Differences Between Vickers and Knoop
The most significant difference between Vickers and Knoop hardness testing is the design of the indenters. The Knoop indenter only penetrates the specimen about 1/4 as deep as the Micro Vickers indenter under identical force. However, for testing higher hardness surfaces or challenging specimens such as rounded surface areas, the Micro Vickers indenter may be more suitable.
Sample Preparation
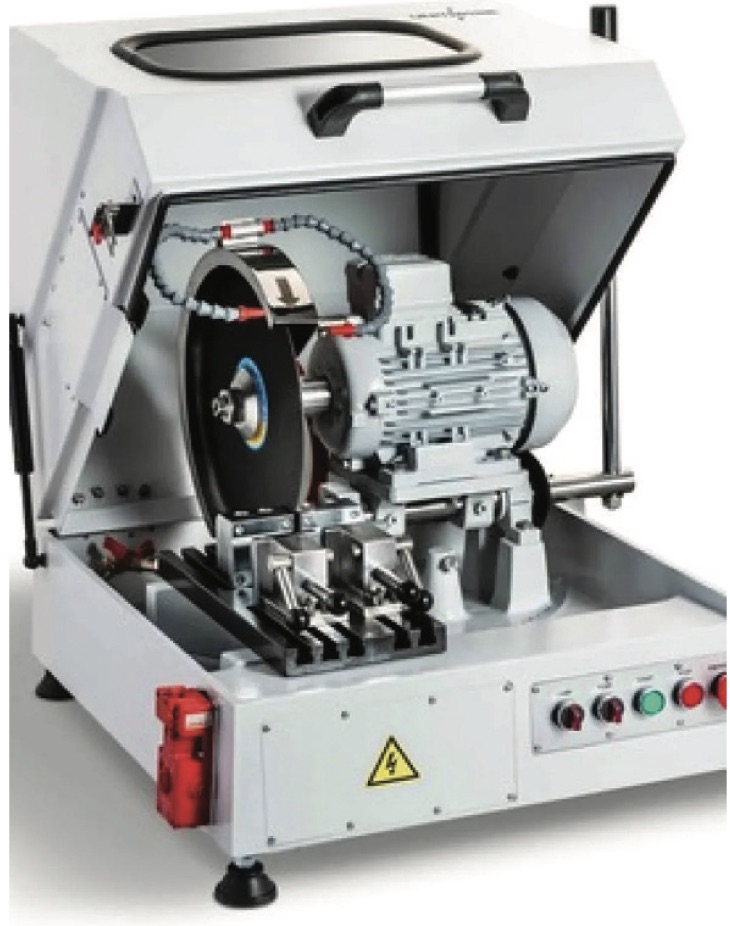
Sample Cutting - Given that specimen sizes for microhardness testing and the size of the tester itself are small, it is common to require cutting of samples down to a manageable size prior to mounting before polishing them in resin. Therefore, an additional piece of equipment specifically designed to cut samples will be required.
Sample Mounting - Mounting of the sample into a resin block prior to polishing is also a common procedure when performing microhardness testing. Mounting a sample is done by embedding the sample in a resin powder under high heat and pressure. Once the mounting process is complete a sample becomes embedded into a round disk consisting of a resin that surrounds the component being tested. The surface of the embedded sample can then be properly polished to ensure accurate testing results.
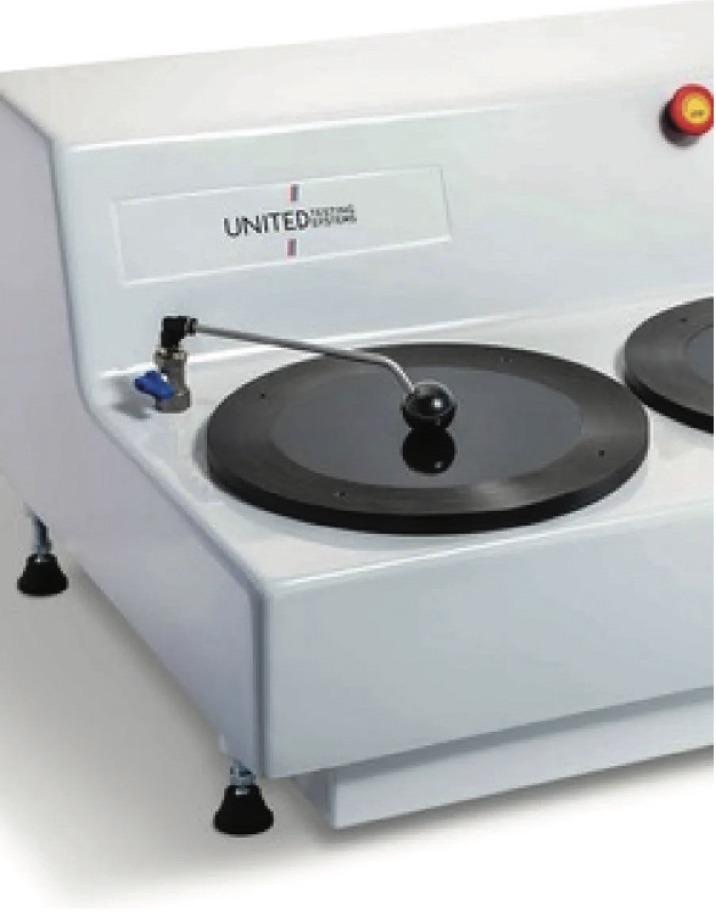
Sample Polishing – Because rough surfaces of a sample being tested may cause variation in results, it is often necessary to require polishing the surface of a sample before testing. Specialized pieces of equipment designed to polish samples are often found in Microhardness testing labs.
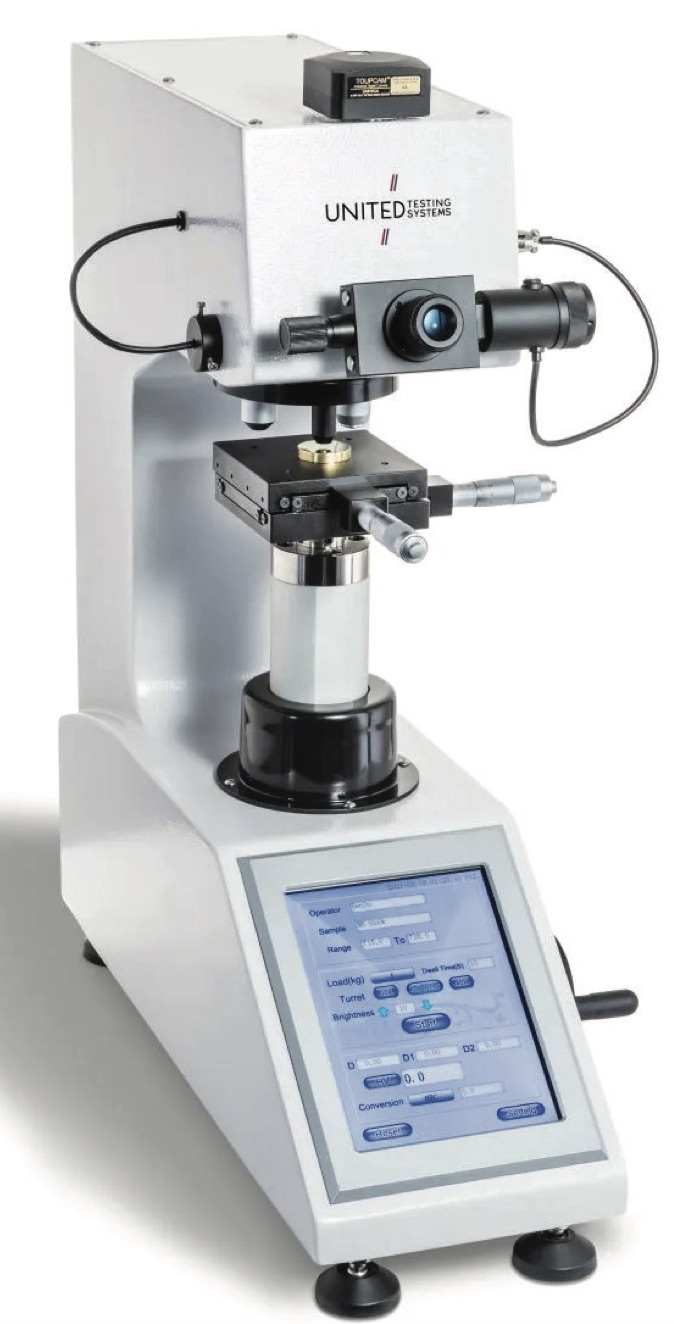
Microhardness Testing with Tru-Blue MicroVT
The United Testing Systems Tru-Blue range of microhardness testing machines offers both Micro Vickers and Knoop testing and is ideal for testing across a wide range of material types including metals and alloys, tin plating, solder and weld lines, automotive and marine paints and coatings, glass, ceramics and even plastics.
The MicroVT has a modular automated turret design to support an indenter and microscope objective, with a powerful imaging system and an intuitive, feature-rich user interface. The Tru-Blue MicroVT conforms to all international standards, including but not limited to ASTM E834, ASTM E92, ISO 4546, ISO 6507 and ISO 9385.
United Testing Systems also offers a complete line of necessary accessories for specimen preparation. The Tru-Blue line of sample preparation equipment includes stand-alone Sample Cutter, a twin-station Grinder & Polisher and Sample Mounting press with both electro-mechanical and hydraulic pressurization options.
All Tru-Blue sample preparation units are robust and built for many years of reliable operation in demanding environments.
It is of the utmost importance to have your lab running smoothly and for your testing processes to be fast, accurate and repeatable – that’s why testing machines manufactured by skilled experts using the highest quality components possible are key in microhardness testing.
About the Author
Phil Eusebi is a Product and Applications Specialist with Industrial Physics, a global packaging, product and material test and inspection company. The group is made up of numerous specialist testing brands, including Testing Machines Inc., United Testing Systems, TQC Sheen, Ray-Ran, and many more. For almost 100 years, the team has been protecting the integrity of their customer’s brands and products by providing world-class test and inspection solutions. Learn more at www.industrialphysics.com.


